Achieving precision at 100 yards requires proper scope alignment and adjustments. This guide will take you through the essential steps to sight in 100 yards rifle scope is accurately sighted in for optimal performance.
Step 1: Gather the Necessary Tools
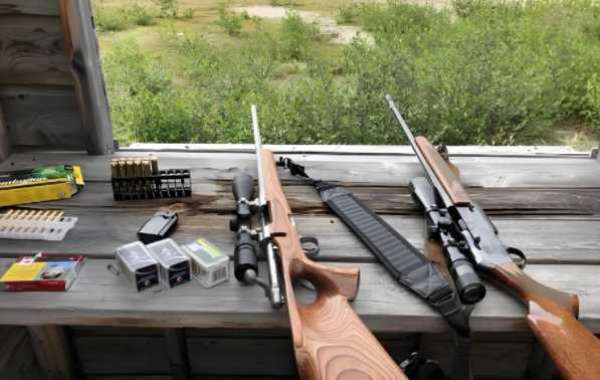
Before beginning the sighting process, make sure you have the following tools ready:
Target paper – Choose a well-marked target for easy tracking of bullet impact points.
Screwdriver – Needed for adjusting the scope’s windage (left/right) and elevation (up/down) knobs.
Rifle and scope – Ensure they are properly paired and that the firearm is in good working condition.
Gun rest or tripod – Helps stabilize the rifle and minimizes movement for accurate shooting.
Step 2: Choose an Ideal Shooting Position
Selecting the right shooting location is crucial for effective sighting. A designated shooting range with a 100-yard distance is ideal.
Ensure the area is safe, distraction-free, and level to prevent instability.
A flat shooting surface is essential to maintain accuracy and consistency during the sighting process.
Step 3: Install and Secure the Scope
Proper installation of the scope is the foundation of accurate shooting:
Use high-quality scope mounts and securely tighten the screws to prevent shifting.
Align the center of the scope with the rifle’s sightline to ensure proper targeting.
Step 4: Perform Initial Aiming
Before adjusting the scope at 100 yards, start with a shorter range (25-50 yards) to establish a baseline:
Set up a paper target and align your scope’s crosshairs with the center of the target.
Take a few test shots to see how close the bullet impacts are to your point of aim.
If necessary, make initial scope adjustments to bring the point of impact closer to the target center.
Step 5: Adjust Windage and Elevation
At 100 yards, bullet trajectory is influenced by factors like wind and environmental conditions, so adjusting the scope is essential:
Windage Adjustment (Left/Right) – Compensates for wind effects using the windage knob.
Elevation Adjustment (Up/Down) – Corrects vertical deviations by fine-tuning the elevation knob.
After each adjustment, fire additional test shots and gradually refine until the bullets consistently hit the intended target.
Step 6: Fine-Tune and Validate Accuracy
Once the initial adjustments are made, conduct a final accuracy test:
Fire multiple rounds to confirm the point of aim matches the point of impact.
Account for external factors like wind speed, humidity, and temperature, which may require slight corrections.
Continue minor adjustments until your rifle is accurately zeroed at 100 yards.